Raspberry Pi 4 -- 5G Wifi配置紀錄
因為一直想要在宿舍弄個 Wifi AP,不然每次都要筆電有開手機才能用 Wifi。另外,這樣筆電拿回來就不用插網路線了

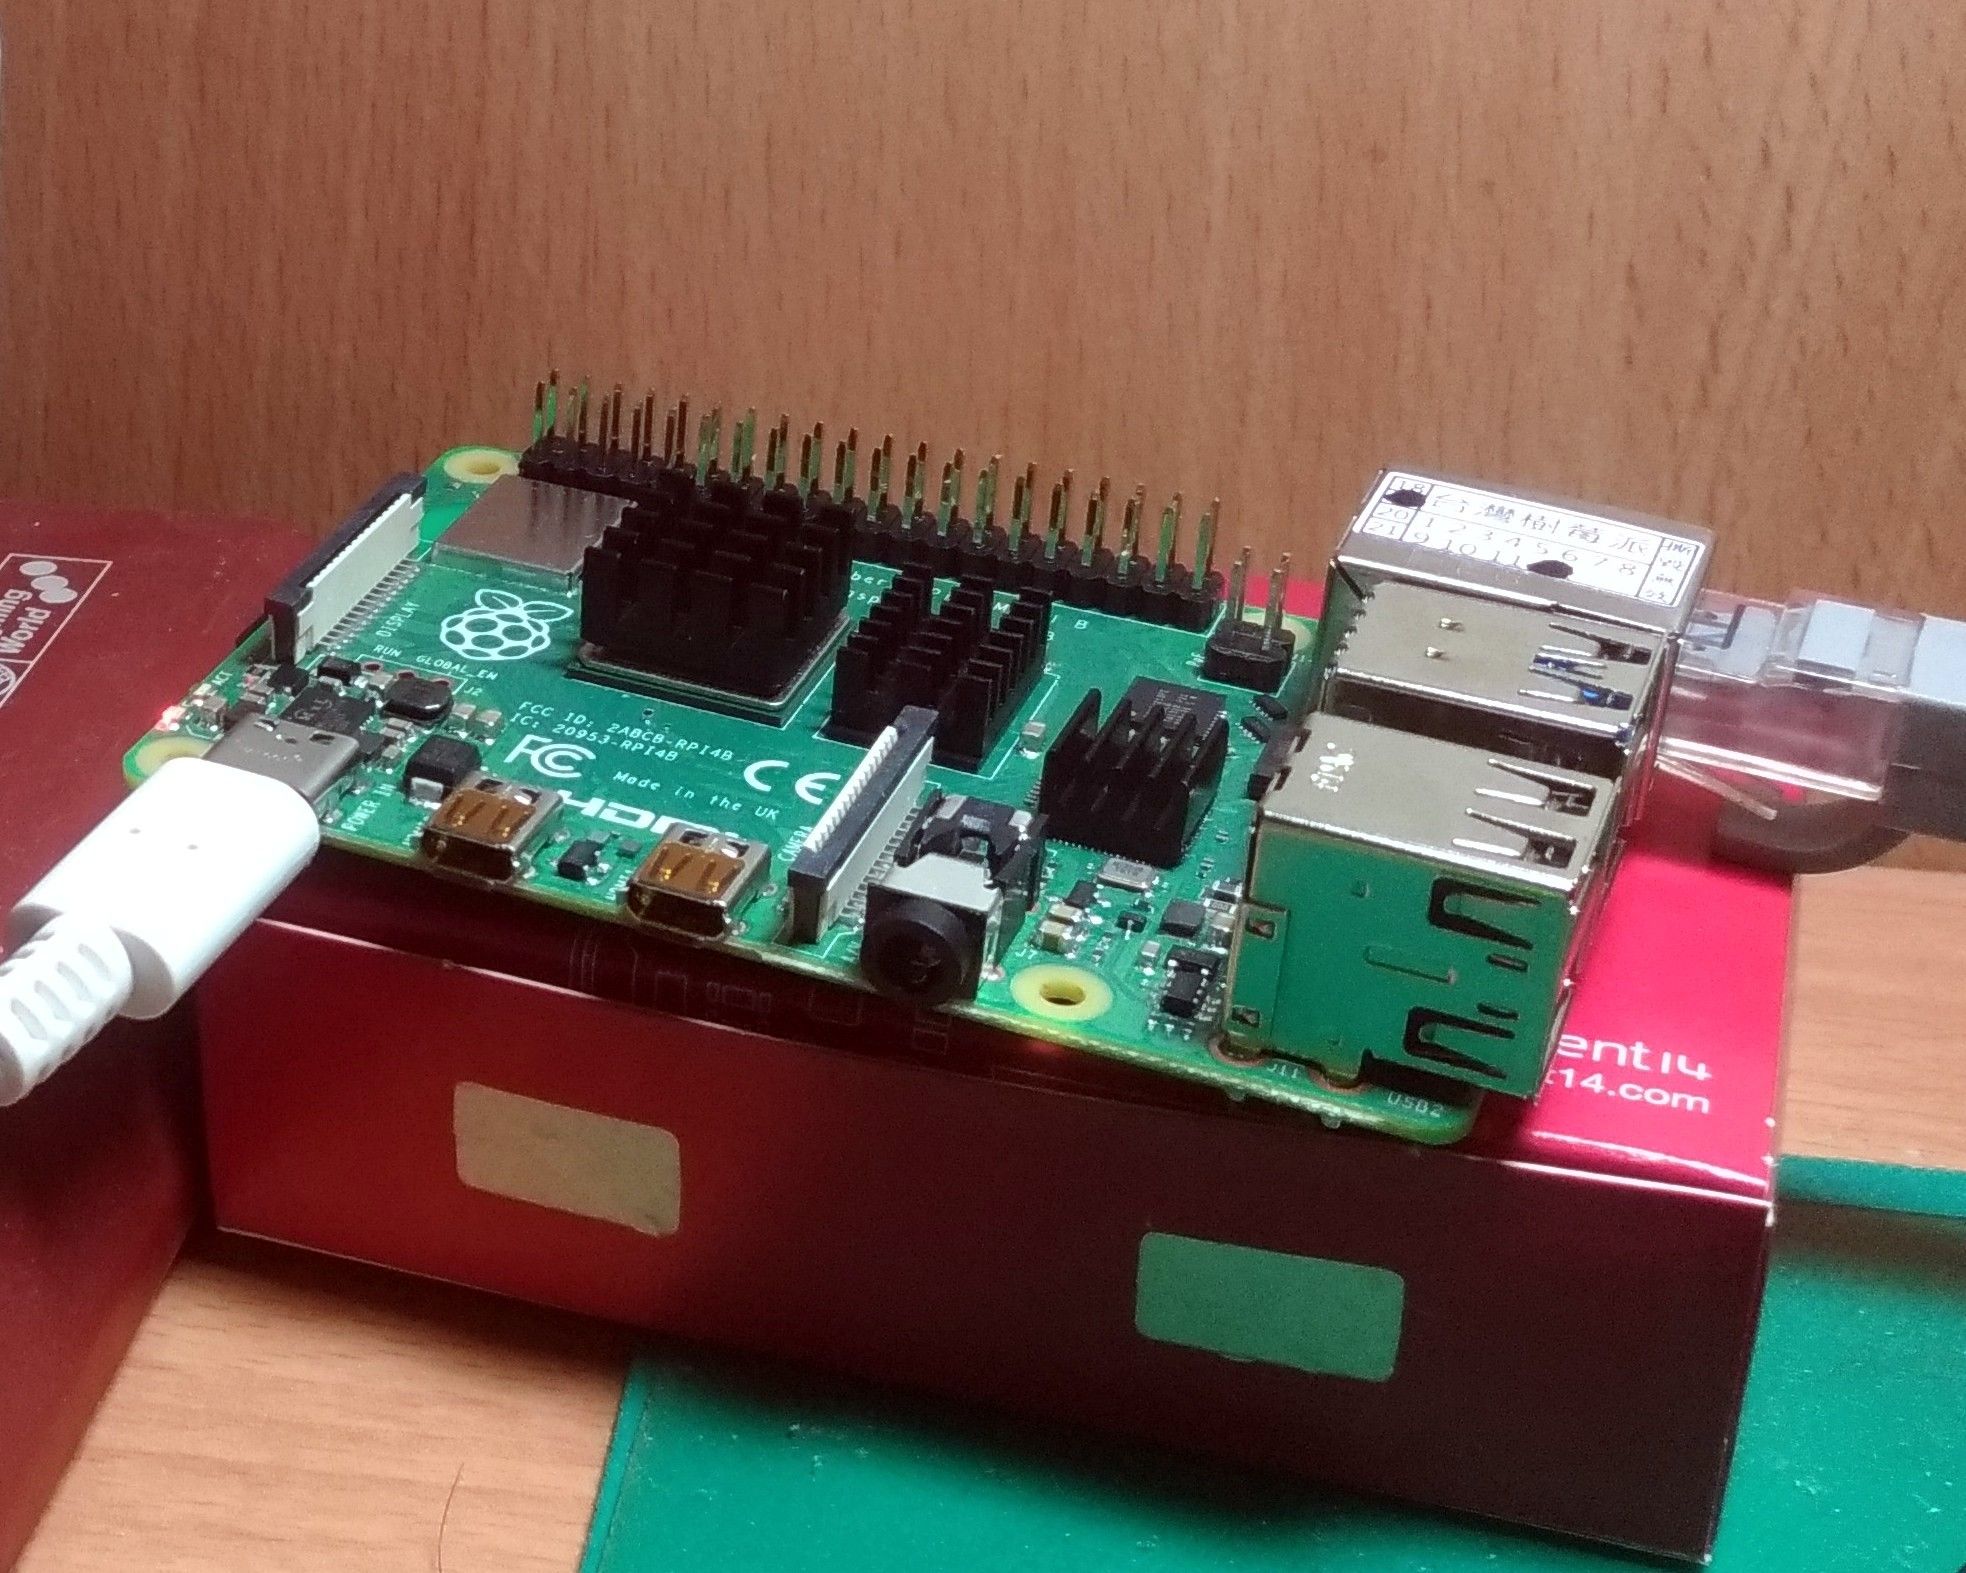
最近因為一些需求,以及未來想要研究一些硬體相關的東西,剛好就買了新出的樹莓派4。
這次樹莓派4大幅強化了他的週邊接口,以下是一些升級的資訊:
- USB 3.2 Gen1 * 2
- Bluetooth 5.0
- micro-HDMI 2.0 * 2 (支援4K p60)
- 真1Gbps乙太網路(以前的是走USB,所以被限在300Mbps 直接半殘…)
- USB Type-C供電(但因為bug…如果買到修正前的版本,會不支援有E-Marked的充電線,所以Mac和一些高端的充電線不能用…)(欲知詳情請看這篇文章)
- 提供 1/2/4GB 的 RAM 選擇,官方售價分別為 $USD 35/45/55
- 升級到 VideoCore VI,支援 OpenGL ES 3.0
- 4Kp60 HEVC 硬體解碼支援
USB Type-C 缺陷檢查
在你的 Raspberry Pi 輸入指令
$ cat /proc/device-tree/model
Raspberry Pi 4 Model B Rev 1.2
目前看來 Revision 是 1.2 以上就是修正過了,因為我的可以接筆電的 Type-C (1.1不明,徵求資訊) 更新:台灣樹莓派的說明
系統設定
官網載點:https://www.raspberrypi.org/downloads/
這次安裝的是 Ubuntu Server,如何燒進SD卡就當大家都會了 XD
預設帳號:ubuntu;密碼:ubuntu,要記得改掉
因為沒螢幕可以接,所以就直接ssh上去,不像 Raspbian 需要在SD卡上加檔案,Ubuntu Server 預設就有開
Wifi AP配置
因為一直想要在宿舍弄個 Wifi AP,不然每次都要筆電有開手機才能用 Wifi。另外,這樣筆電拿回來就不用插網路線了!缺點就是雖然 Raspberry Pi 4有支援802.11ac,但畢竟只有一組天線 (吧?),所以速度最多就是100Mbps(所以還是沒用到真乙太網路的頻寬啊…),不過速度已經堪用就是了。
理論上不管是什麼裝置,只要有支援 AP 模式的無線網卡就可以架 Wifi 了。需求大概是以下三點:
- Wifi 網卡 AP 模式設定 (hostapd)
- DHCP Server (dnsmasq / dhcpd / ...)
- NAT Routing (iptables)
Hostapd 802.11ac 配置設定
主要是調整 /etc/hostapd/hostapd.conf 的設定,然後這邊只有開 5GHz Wi-fi 的設定,若要其他的要另外研究了。
interface=wlan0
driver=nl80211
hw_mode=a
wmm_enabled=1
channel=36
country_code=US
ieee80211d=1
ieee80211h=0

# 802.11n
ieee80211n=1
require_ht=1
ht_capab=[MAX-AMSDU-3839][HT40+][SHORT-GI-20][SHORT-GI-40][DSSS_CCK-40]

#802.11ac
ieee80211ac=1
require_vht=1
vht_capab=[MAX-AMSDU-3839][SHORT-GI-80][SU-BEAMFORMEE]
vht_oper_chwidth=1
vht_oper_centr_freq_seg0_idx=42

# Authentication
ssid=<Wi-fi Name>
auth_algs=1
wpa=2
wpa_passphrase=<Password>
wpa_key_mgmt=WPA-PSK
wpa_pairwise=TKIP
rsn_pairwise=CCMP
macaddr_acl=0基本上這個配置綁得比較死,倒是不好調整,畢竟我也不是這方面的專精 (而且寫起來又是一篇文章的長度啦),若有意調整的人再自行研究囉~
※附上 hostapd 的 configuration documentation
最後要啟動服務:
$ sudo systemctl start hostapd.service
$ sudo systemctl enable hostapd.service
DHCP Server
DHCP Server 是用來給連上的裝置分配 IP 位置,在這裡使用 dnsmasq 這套軟體。用 apt-get 安裝完之後,編輯設定檔 /etc/dnsmasq.conf ,把這幾個設定調成這樣:
interface=<your wifi interface>
bind-interfaces
dhcp-range=192.168.0.2,192.168.0.100,255.255.255.0,24h
再來需要調整網路設定,編輯 /etc/netplan/50-cloud-init.yaml ,把 Wi-fi 介面設定成固定 IP 192.168.0.1
network:
    version: 2
    ethernets:
        eth0:
            dhcp4: true
            optional: true
        wlan0:
            dhcp4: no
            addresses: [192.168.0.1/24]
optional: true接下來要套用設定,請確保你不是透過 Wi-fi 連到你的 Rpi 上
$ sudo netplan try
$ sudo netplan generate
$ sudo netplan apply
新版的 Ubuntu Server 是採用 netplan 作為網路的設定方案,若是在執行以上的動作不幸斷線了,則會自動在2分鐘後復原設定 (跟調整螢幕設定一樣的機制),所以就去泡碗泡麵吧 XD
最後要啟動 dnsmasq
$ sudo systemctl start dnsmasq.service
$ sudo systemctl enable dnsmasq.service
若是成功啟動,就大功告成了~~~
※註:因為 dnsmasq 有設定 bind-interfaces,所以應該不會和內建的 systemd-resolved 衝突,如果發生衝突的話,就要調整一下兩邊的設定,不然就是要關掉 systemd-resolved 了。
※註2:有時候開機的時候會遇到啟動失敗的問題,主因是 dnsmasq.service 比 hostapd.service 早啟動,所以會綁到還未設定的 Wi-fi 網卡。最好在 Unit file 的 After 加上 hostapd.service 。
NAT 設定
在 Linux 上配置 NAT (Network Address Translation) 的方式就是透過 iptables 了。雖然是內建在 kernel 內的功能,但為了要在開機啟動時自動設定,因此需要另外安裝 iptables-persistent 這個套件包。
$ sudo apt-get install iptables-persistent然後需要新增規則,修改從本機出去的 IP 地址
$ sudo iptables -t nat -A POSTROUTING -o eth0 -j MASQUERADE再來是 filter 表內的 FORWARD 規則
$ sudo iptables -A FORWARD -m conntrack --ctstate RELATED,ESTABLISHED -j ACCEPT
$ sudo iptables -A FORWARD -i wlan0 -o eth0 -j ACCEPT
要將目前的 iptables 狀態存起來可以重新執行 iptables-persistent 的設定
$ sudo dpkg-reconfigure iptables-persistent最後,還有一個很重要的設定!編輯 /etc/sysctl.conf ,找到並修改以下設定:
net.ipv4.ip_forward=1套用設定到 kernel
$ sudo sysctl --system或是直接重開機測試能不能連上去
網路上的大部分文章都只有提到 2.4GHz Wi-fi 的架設,而且大都是用 Raspbian,所以就相當值得紀錄一下了。
順帶一題,他的 Wi-fi 速度大概就是這樣:
$ iperf3 -s
-----------------------------------------------------------
Server listening on 5201
-----------------------------------------------------------
Accepted connection from 192.168.0.69, port 43784
[  5] local 192.168.0.1 port 5201 connected to 192.168.0.69 port 43786
[ ID] Interval           Transfer     Bitrate         Retr  Cwnd
[  5]   0.00-1.00   sec  11.8 MBytes  99.1 Mbits/sec    1    173 KBytes
[  5]   1.00-2.00   sec  11.5 MBytes  96.4 Mbits/sec    0    195 KBytes
[  5]   2.00-3.00   sec  11.0 MBytes  92.3 Mbits/sec    0    218 KBytes
[  5]   3.00-4.00   sec  11.1 MBytes  93.3 Mbits/sec    0    225 KBytes
[  5]   4.00-5.00   sec  11.6 MBytes  97.5 Mbits/sec    0    228 KBytes
[  5]   5.00-6.00   sec  11.6 MBytes  97.0 Mbits/sec    0    228 KBytes
[  5]   6.00-7.00   sec  11.1 MBytes  93.3 Mbits/sec    0    229 KBytes
[  5]   7.00-8.00   sec  11.6 MBytes  97.5 Mbits/sec    0    232 KBytes
[  5]   8.00-9.00   sec  11.2 MBytes  93.8 Mbits/sec    0    242 KBytes
[  5]   9.00-10.00  sec  11.5 MBytes  96.4 Mbits/sec    0    273 KBytes
- - - - - - - - - - - - - - - - - - - - - - - - -
[ ID] Interval           Transfer     Bitrate         Retr
[  5]   0.00-10.00  sec   114 MBytes  95.6 Mbits/sec    1             sender
-----------------------------------------------------------
Server listening on 5201
-----------------------------------------------------------
Accepted connection from 192.168.0.69, port 43692
[  5] local 192.168.0.1 port 5201 connected to 192.168.0.69 port 43694
[ ID] Interval           Transfer     Bitrate
[  5]   0.00-1.00   sec  8.68 MBytes  72.8 Mbits/sec
[  5]   1.00-2.00   sec  9.02 MBytes  75.6 Mbits/sec
[  5]   2.00-3.00   sec  8.91 MBytes  74.7 Mbits/sec
[  5]   3.00-4.00   sec  8.90 MBytes  74.6 Mbits/sec
[  5]   4.00-5.00   sec  8.83 MBytes  74.1 Mbits/sec
[  5]   5.00-6.00   sec  9.00 MBytes  75.5 Mbits/sec
[  5]   6.00-7.00   sec  8.85 MBytes  74.2 Mbits/sec
[  5]   7.00-8.00   sec  8.95 MBytes  75.0 Mbits/sec
[  5]   8.00-9.00   sec  9.01 MBytes  75.6 Mbits/sec
[  5]   9.00-10.00  sec  9.02 MBytes  75.6 Mbits/sec
[  5]  10.00-10.01  sec  70.7 KBytes  76.8 Mbits/sec
- - - - - - - - - - - - - - - - - - - - - - - - -
[ ID] Interval           Transfer     Bitrate
[  5]   0.00-10.01  sec  89.2 MBytes  74.8 Mbits/sec                  receiver
就如果要追求超高速 Wi-fi 的話,乾脆還是去買一台 Wi-fi Router 比較實在。但單純的充當一下基地台是及格的~